








How to clean a fabric pool float: a step-by-step guide
Key Takeaways
A gentle clean is usually enough to freshen a fabric pool float. Let its materials and care label guide how much water and which products to use.
- Check the care label and construction before cleaning.
- Use mild detergent, cool or lukewarm water, and soft tools.
- Clean with light strokes and keep water away from vulnerable openings.
- Rinse away detergent, then air-dry every side completely.
- Store the float dry and check it for wear between uses.
Check the float’s materials and care instructions
Before you begin, find out what the float is made of and how its parts are put together. Fabric covers, inner fills, seams, and coatings can all respond differently to water and cleaning products. The safest approach is to follow the care label first, then keep the cleaning method gentle.
Look for a removable fabric cover or care label
Check for a label near a seam, closure, or opening, and see whether the cover can be removed. If the cover comes off, follow its instructions separately from the float’s inner structure. If there is no label, avoid assuming that the whole float is machine washable; hand-cleaning only the soiled areas is a cautious place to start.
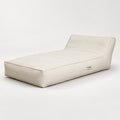
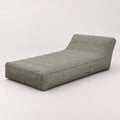
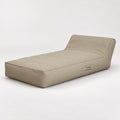
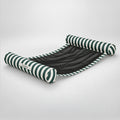
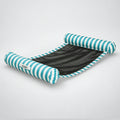
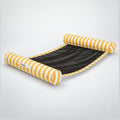
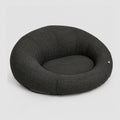
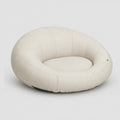
Poolboy is a New Zealand-designed brand of fabric pool floats and loungers. Its products use solution-dyed Olefin fabric over a welded TPU core, so the care directions for a particular float still matter; don’t treat one construction as a rule for every fabric float.
Identify the inner fill and any waterproof coating
A fabric exterior does not tell you what sits beneath it. Look for an opening or product information that explains whether the float has a removable cover, a bladder, or another type of inner support, and note any coating the maker identifies. Poolboy fabric floats and loungers use a welded TPU core; other floats may have a different construction and may be more sensitive to water entering through an opening.
The three Poolboy products are designed for use in pools and other summer conditions, but for cleaning, use the care instructions for the specific float rather than guessing from its appearance. If you’re weighing materials and construction before buying, this fabric float care guide also covers practical considerations for using, cleaning, drying, and storing a float.
Test cleaning products on a hidden spot
Before cleaning a visible area, try your diluted detergent on a small, inconspicuous patch. Use a soft cloth, dab gently, then check whether the color transfers or the fabric changes as it dries. This small test is especially useful when the float is patterned or has contrasting trim, where even mild fading may stand out.
Give the test spot time to dry before deciding the product is suitable. A material can look unchanged while wet and reveal a difference later, so patience here can save you from turning one mark into a larger problem.
Avoid methods that could damage seams or coatings
Strong cleaners, high heat, and forceful scrubbing can be hard on fabric, coatings, and stitched or welded joins. Don’t put the float in a washer or dryer unless its care label specifically allows it, and don’t direct a high-pressure spray at seams or openings. Gentle, controlled cleaning is easier to stop if you notice a change.
If the label is missing or unclear, stick with a damp cloth and mild detergent on the surface. Keep water away from openings, and stop if the fabric starts to bleed color, feel different, or separate at a seam.
Gather gentle cleaning supplies
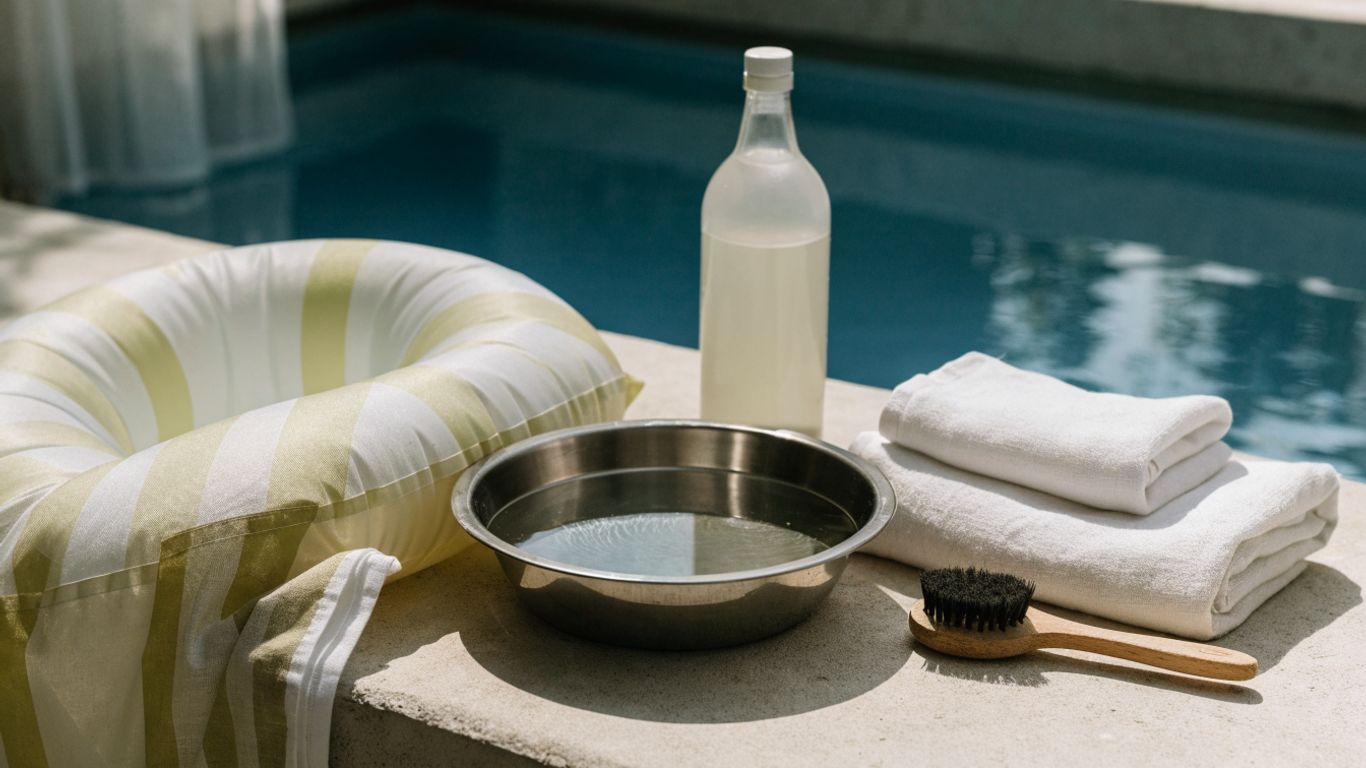
You don’t need a shelf of specialist products to clean a fabric pool float. A small amount of mild detergent, clean water, and a soft cloth or brush will handle ordinary dust, sunscreen, and surface grime. Set everything out before you start so you can clean and rinse without leaving detergent sitting on the fabric.
Choose mild detergent and cool or lukewarm water
Use a mild detergent diluted in cool or lukewarm water, unless the care label recommends something else. Strong concentrations are not a shortcut: detergent left in the weave can make the fabric feel unpleasant and may attract more dirt. For a simple starting point, these options help keep the cleaning modest.
| Cleaning need | Gentle approach | Keep in mind |
|---|---|---|
| Light surface grime | Diluted mild detergent | Use only a small amount |
| A localized mark | Damp cloth with diluted detergent | Test a hidden spot first |
| Rinsing after cleaning | Clean, cool water | Remove all visible suds |
A little solution is usually enough for a small area, and you can make more if needed. For another general take on basic soap-and-water cleaning, see this soap-and-water cleaning advice, then defer to your own float’s label if its directions differ.
Use a soft cloth or soft-bristled brush
Choose a clean microfiber cloth, soft sponge, or soft-bristled brush that won’t snag the fabric. Work with light pressure, particularly around seams and decorative stitching. A rough scrubber may lift fibers or scuff a coating, so leave it aside even if a stubborn mark makes it tempting.
A short demonstration can help you picture the kind of gentle hand-cleaning involved, but check the care label before following any method shown. Keep your float’s construction in mind rather than copying instructions meant for a different material.
Prepare a clean rinse area
Choose a clean spot where you can lay the float without picking up grit from the ground. Have a fresh cloth and a basin or gentle water source ready for rinsing; using a clean rinse area helps keep loosened dirt from settling back onto the fabric. If you’re outdoors, avoid placing the float where runoff can carry soil or leaves across it.
It also helps to keep the detergent and rinse water separate. That way, you can switch to clean water once the surface has been washed rather than spreading diluted soap around.
Skip bleach and abrasive scrubbers unless the care label allows them
Don’t reach for bleach, solvents, or abrasive pads unless the float’s care instructions explicitly approve them. A product that is suitable for one type of pool toy may not be suitable for a fabric cover, its dye, or its inner construction. When the label doesn’t give a clear go-ahead, choose mild detergent and a soft tool instead.
If a mark remains after gentle cleaning, resist increasing the strength of the cleaner at random. Recheck the material instructions or contact the maker for advice on that particular fabric.
Remove dirt and clean the fabric
Once your supplies are ready, clean the float in stages: start with loose debris, then address small marks before moving to larger areas. Keeping the fabric only as wet as the cleaning requires can help protect openings and water-sensitive parts. Work slowly enough to notice how the material responds.
Shake off loose debris before wetting the float
Take the float to a clear area and gently shake or brush away leaves, crumbs, and dry grit before adding water. Wet debris can smear across the fabric, while grit trapped under a cloth may scratch a coating as you wipe. If loose dirt is caught near a seam, lift it away carefully rather than pushing it inward.
After the dry debris is gone, inspect the surface in good light. You’ll have a better sense of which spots need attention and which are simply shadows in the weave.
Spot-clean small marks with diluted detergent
For sunscreen or a small smudge, dampen a soft cloth with diluted detergent and dab the mark from the outside toward the center. Use a fresh part of the cloth as dirt lifts, so you’re not transferring it back onto the fabric. Keep the area modestly damp instead of soaking through the cover.
Rinse the cloth and repeat gently if needed. A few passes with light pressure are usually a safer first try than vigorous rubbing, especially on colored or textured fabric.
Clean larger areas with gentle, even strokes
If dirt covers a broader patch, clean one manageable area at a time with a soft cloth or brush. Use even strokes and refresh the cloth when it picks up grime; that keeps the work consistent without bearing down on one spot. For a larger surface, a simple sequence keeps the job orderly:
- Dampen the cloth with diluted detergent.
- Wipe a small section using light, even strokes.
- Rinse the cloth in clean water and wring it out gently.
- Wipe away remaining suds before moving to the next section.
Take a moment to look over the cleaned area as you go. If the fabric appears to change or the color transfers to the cloth, stop and rinse that area with clean water rather than continuing.
Keep water away from openings and water-sensitive fill
Pay particular attention to zippers, valves, seams, and any other opening. Use a barely damp cloth near these spots and avoid directing water into them. Some floats are built to handle surface rinsing, but that doesn’t mean every inner fill or closure should be soaked.
If your float has a removable cover, follow its label for separating the cover from the inner structure. Otherwise, stay on the surface and keep the amount of water under control.
Rinse and handle stains carefully
After cleaning, remove detergent without immersing the float or flooding its interior. Use a clean damp cloth or a gentle rinse method that suits the care label, then check the surface for remaining suds. Persistent stains need a little patience; a stronger cleaner or harder scrubbing can do more harm than the mark itself.
Rinse away detergent without soaking the float
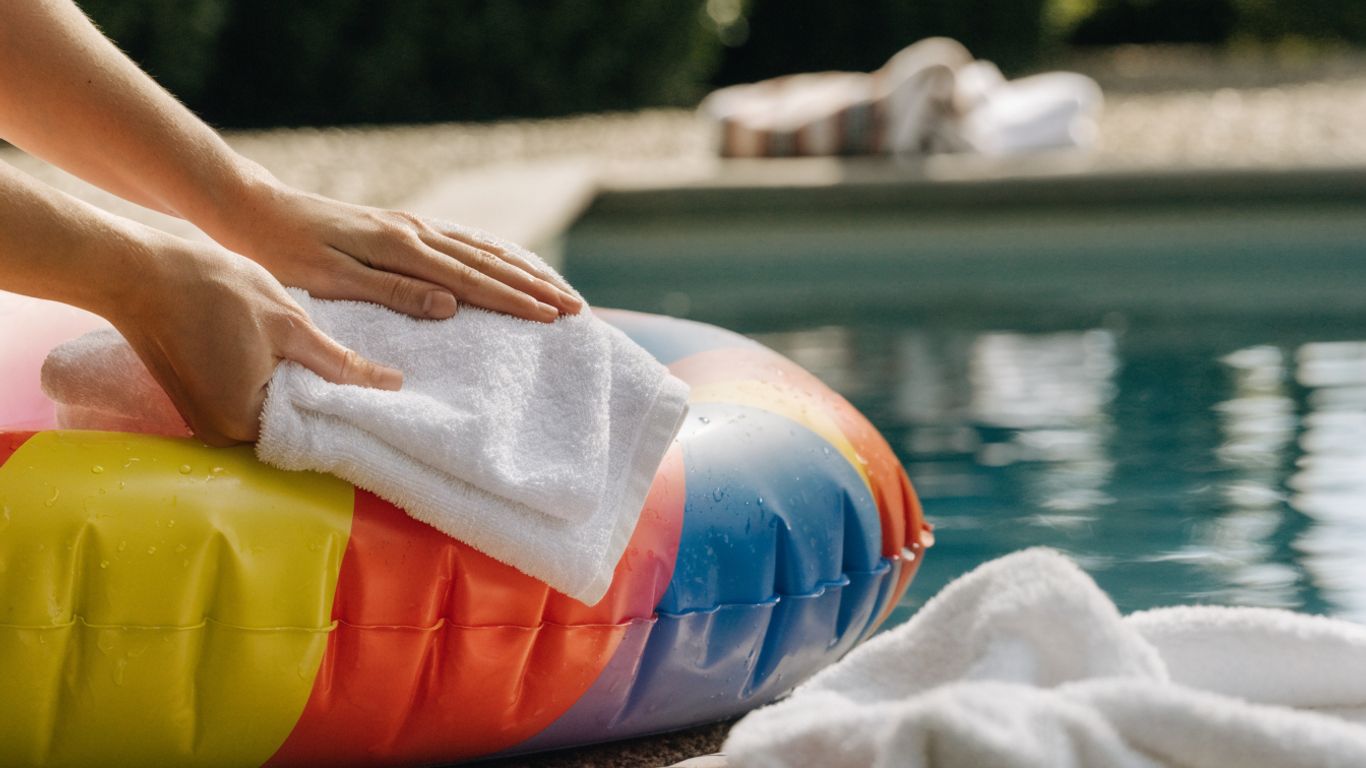
Wipe the cleaned areas with a fresh cloth dampened in clean water, rinsing the cloth often. If the label allows a direct rinse, keep the water gentle and avoid openings, seams, and closures. Don’t leave detergent behind, but don’t soak the float just to get rid of a small amount of suds.
Look across the fabric from different angles to check for residue. If you still see foam or feel a slippery patch, repeat the gentle wipe with clean water.
Blot stains instead of rubbing them deeper
For a stain that remains, press a clean, damp cloth against it and lift straight up rather than scrubbing back and forth. Blotting can draw up residue while putting less friction on the fabric. Work from the outer edge inward so the mark is less likely to spread.
Rinse the cloth between presses and check your progress. If the stain does not respond, stop before repeated rubbing roughens the surface; a faint mark is often preferable to damaged fabric.
Treat mildew only with a method approved for the fabric
If you find mildew, consult the care label or the maker’s instructions before applying any treatment. Advice for one material may not suit another, and unapproved cleaners can affect dyes, coatings, or seams. Avoid mixing cleaning products, and don’t use a mildew treatment just because it is commonly recommended for a different kind of float.
Once you have an approved method, test it on a hidden area first and follow the instructions closely. If the smell or spotting persists, ask the maker for material-specific guidance instead of escalating to a stronger chemical.
Stop if the color bleeds or the material changes
During cleaning, check your cloth and the fabric for color transfer, new roughness, peeling, or a change in texture. If you notice any of these, stop applying detergent and gently remove the remaining solution with clean water. Continuing could spread the damage across a larger area.
Let the spot dry before assessing it fully. If it still looks or feels different, avoid further treatment until you can confirm what the material can safely tolerate.
Dry the float completely
Drying deserves as much care as washing. A float that feels dry on top may still hold moisture near seams, inside folds, or around its filling. Give it room and time to air-dry before putting it away, and avoid heat or direct sun unless the care label says otherwise.
Press out excess water without twisting or wringing
If the fabric is holding water, press it gently with a clean towel to absorb excess moisture. Don’t twist, wring, or compress the float aggressively; those motions can strain seams or distort the structure. Blotting is enough to help it dry without adding unnecessary pressure.
Pay attention to the areas you cleaned most heavily. A towel can lift surface moisture, but it won’t replace air-drying the float thoroughly.
Air-dry in a shaded, well-ventilated spot
Set the float in a shaded place with good airflow, following any specific drying direction on its label. Keep it away from heaters and other sources of direct heat, which may affect fabric, coatings, or construction. A breeze and a little space are more useful than a hot, enclosed corner.
Make sure the float is supported without being folded tightly over a sharp edge. As it dries, check that air can reach the damp areas instead of leaving them pressed against a surface.
Turn the float so all sides can dry
Once one side feels dry, turn the float over so the underside can air out too. If it has folds or a shaped cover, adjust it gently to open those areas without stretching the seams. This simple step helps prevent a dry-looking top from hiding moisture underneath.
Keep it in the same clean, ventilated spot while the other side dries. Don’t pack it away just because the exposed surface feels ready.
Check seams and filling for lingering dampness
Before storing the float, feel along seams, closures, and thicker sections for cool or damp patches. Check any accessible inner areas only as the maker’s instructions allow; don’t force open a closure or separate parts that are not meant to come apart. If something still feels damp, give it more time in the air.
A final check is worth the extra minute. Drying fully before storage helps you avoid trapping moisture inside a folded or enclosed float.
Store and maintain the float between uses
A little care between swims can make the next clean easier. Rinsing off pool water and sunscreen before residue builds up keeps routine maintenance simple, while dry storage helps avoid leaving damp fabric packed away. Follow any product-specific guidance, since floats differ in their covers, cores, and closures.
Rinse off pool water and sunscreen after use
After use, rinse the surface with clean water if the care label allows it, paying attention to areas that touched sunscreen or pool water. A light rinse is a routine clean, not a reason to soak the float or direct water into its openings. If you’re not cleaning it straight away, wipe visible residue with a clean damp cloth.
Small habits help keep grime from accumulating between deeper cleans. Use a gentle approach and check the fabric rather than assuming every mark needs detergent.
Let the float dry before putting it away
Before storing the float, let it dry fully on every side, including seams and folds. Don’t fold or cover it while it is still damp, even if you plan to use it again soon. If time is short, leave it in an airy place and finish drying it later rather than sealing in moisture.
For a more complete routine, this fabric float care guide includes practical advice on rinsing, drying, and storing a float. The same basic sequence—clean, dry, then store—keeps the steps easy to remember.
Store it in a cool, dry place away from direct sunlight
Choose a dry storage spot out of direct sunlight, and follow the maker’s directions about whether the float should be folded, deflated, or kept flat. Avoid placing heavy items on top, which may press on the cover or seams. If the float has a removable cover or specific closure, store it as directed rather than improvising a tight bundle.
A clean, dry storage area also makes it easier to spot any dust or dampness before the next use. There’s no need to make storage complicated; a little space and a dry environment are the main considerations.
Inspect fabric, seams, and closures for wear
When you put the float away or take it out again, look over its fabric, seams, and closures. Notice loose threads, changes in the surface, or a closure that no longer works smoothly. If you find damage, check the maker’s advice before using the float or attempting a repair.
Regular checks give you a chance to address small issues early. They also help you decide when the float needs a gentle clean rather than another round of storage.
Conclusion
To clean a fabric pool float, check its care instructions, use mild supplies, and work gently around seams and openings. Rinse away residue and let every part dry before storing it; that steady routine is more useful than a harsh, hurried scrub.
Frequently Asked Questions
How often should you clean a fabric pool float?
Rinse or wipe it after use when it has visible sunscreen, dirt, or pool residue, and give it a more thorough gentle clean when it needs one. The care label may offer a recommended routine for the specific float.
Can you put a fabric pool float in the washing machine?
Only do so if the care label explicitly says the cover or float is machine washable. Many floats contain inner structures or closures that may not be suited to machine washing, so hand-cleaning the surface is the safer default.
What detergent should you use on a fabric pool float?
Use a small amount of mild detergent diluted in cool or lukewarm water, unless the manufacturer specifies another cleaner. Test it on a hidden patch first and rinse the fabric well afterward.
Can you use bleach to remove stains from a fabric pool float?
Avoid bleach unless the care instructions specifically approve it for that material. Bleach may affect color or fabric, and advice for plastic or other pool toys may not apply to a fabric float.
How do you remove sunscreen from a fabric pool float?
Dab the area with a soft cloth dampened with diluted mild detergent, working gently from the outer edge of the mark inward. Rinse with clean water and repeat only if the fabric remains unchanged.
How long does a fabric pool float take to dry?
Drying time varies with the float’s construction, the amount of water used, and airflow. Leave it in a shaded, well-ventilated place and check seams, folds, and thicker sections before storing it.
What should you do if mildew appears on a fabric pool float?
Check the care label or contact the maker for a treatment approved for that fabric. Test any approved method on a hidden spot first, and avoid applying stronger cleaners or mixing products without specific instructions.
